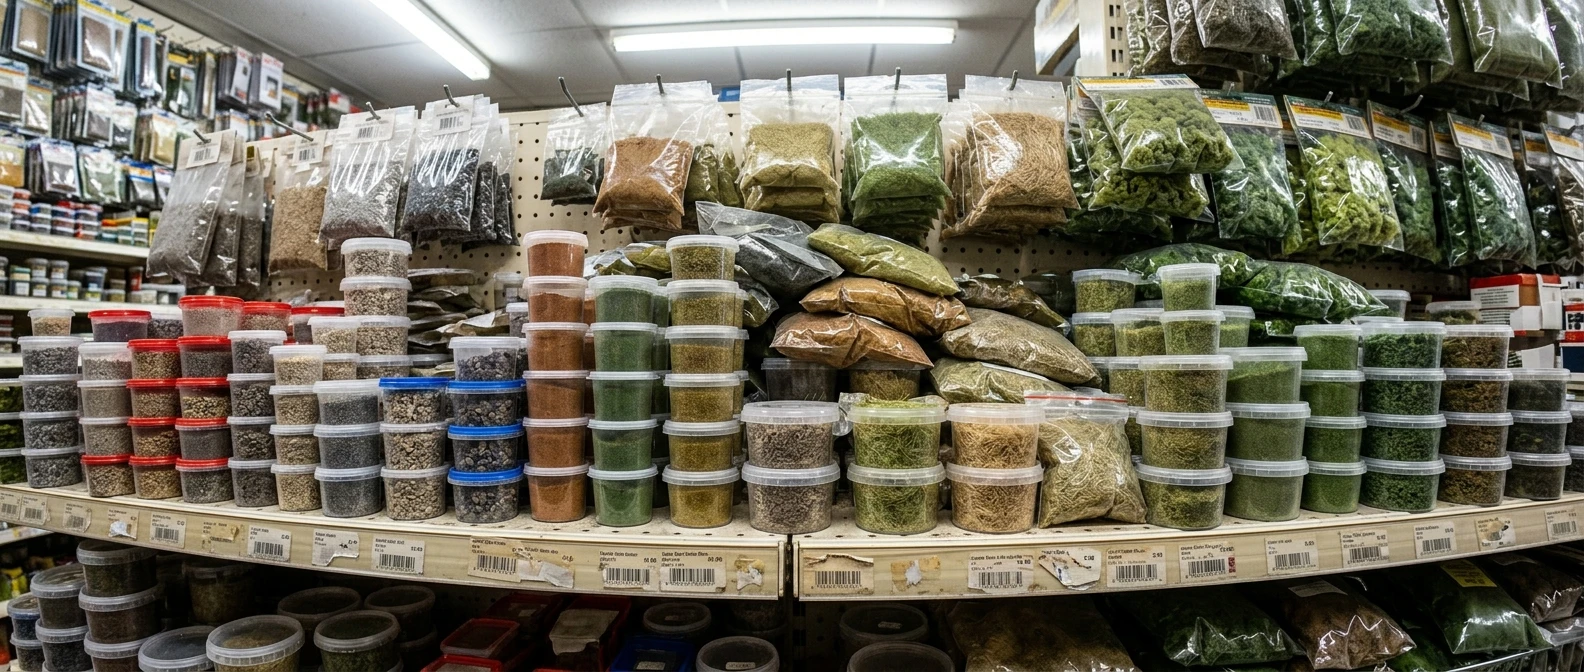
Walk into any model railway shop or scroll through an online scenery catalogue and you’ll find foliage in a dozen shades of green, ballast in six grain sizes, static grass applicators, foam clump varieties, scatter in colours that barely differ from one another, and specialist glues for each. A beginner standing in front of that shelf has two options: buy a bit of everything and hope, or freeze and buy nothing. Knowing the best model railway scenery materials for beginners before you shop solves both problems at once, saving the money and time that a first layout doesn’t need to lose.
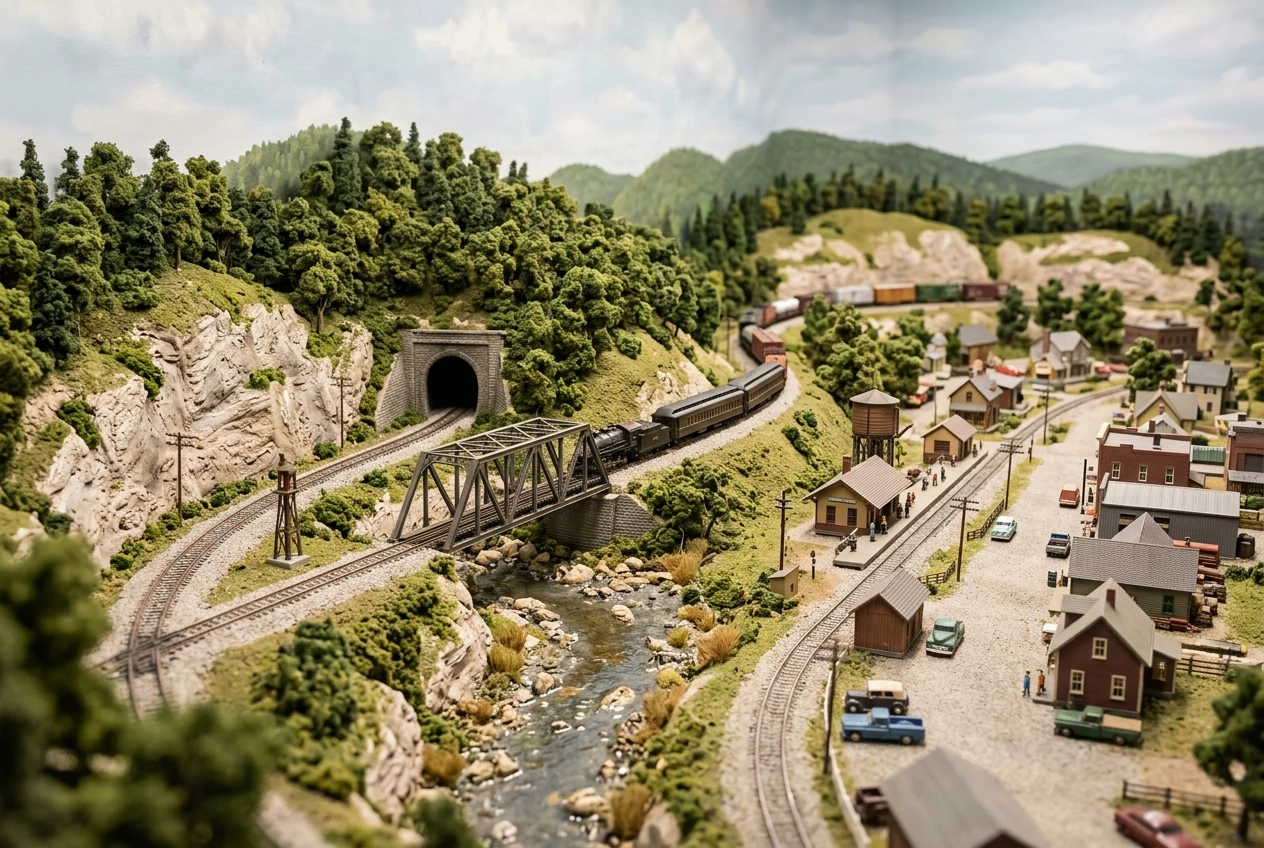
Scenery trips people up before track even goes down because it looks like a shopping list rather than a set of decisions. The track plan and baseboard get planned carefully, then scenery gets treated as an afterthought bought in a rush, often in far greater quantity and variety than a first board will ever use. A small first layout needs five materials, not fifteen.
The essential five
These five cover a complete, finished-looking scene on a beginner layout. Nothing else is required to take a bare baseboard to a scene that looks like a real place.
- Ballast. The stone chippings that sit between and around the sleepers, giving the track bed its texture. One grey or brown shade in a size suited to your scale is enough for a first board.
- Scatter base material. Fine scatter in a general ground colour (a mid-brown or green) covers bare baseboard and gives every other material something to sit on top of.
- Static grass. Short fibres applied with an applicator or simply sprinkled on wet glue stand upright and read as grass rather than flat scatter. One length and one shade is plenty to start.
- Foliage clumps. Pre-made clumps of foam-backed foliage represent bushes, hedges and tree cover without the fuss of building each one from separate materials.
- PVA-based adhesive, either standard PVA diluted with water or a scenic glue sold for the purpose. This is what holds every other material in place.
Each of these does one job and does it well. Buying several versions of each at the start (three ballast colours, five scatter shades) only means half of it sits unused in a drawer while the layout still isn’t finished.
How these essentials connect to your baseboard and track
Scenery doesn’t sit in isolation from the rest of the build. Ballast goes down around track that’s already been laid and tested, which is why it makes sense to get your running sorted before you reach for the glue. If you haven’t laid track yet, How To Lay Model Railway Track covers the order of operations that scenery work follows on from.
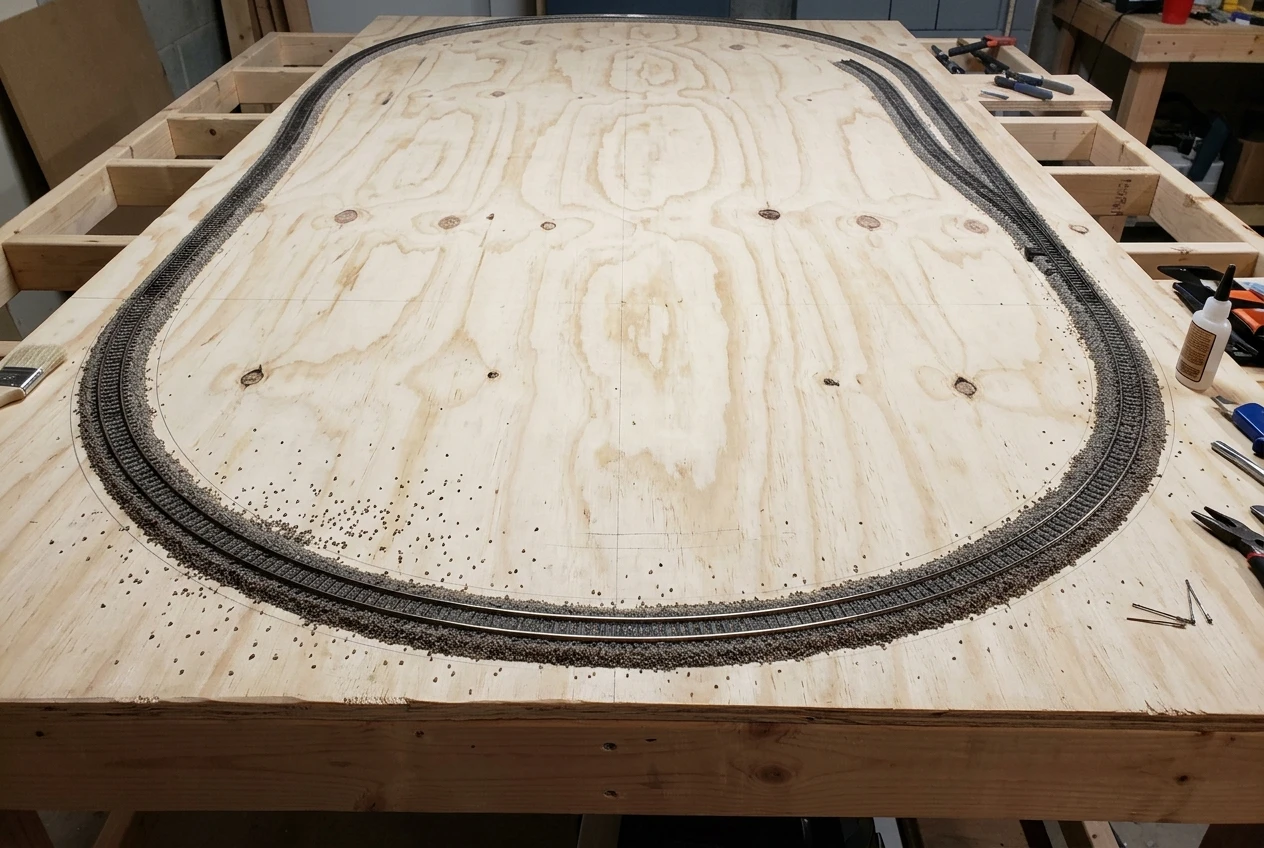
The baseboard itself matters too. A board with a rough or unsealed surface will soak up diluted PVA unevenly, and a board that flexes will crack dried scatter and static grass over time. If you’re still deciding what to build on, What Is The Best Baseboard for a Model Railway? is worth reading before you buy scenery materials, since the board decision affects how well the scenery sits once it’s down.
Track plan shape matters as well. A layout with wide open areas between the running lines needs more scatter and foliage than a tightly packed shunting yard, so it’s worth having your plan roughly settled, as discussed in Model Railway Layout Plans, before estimating how much of each material to buy.
Scenery add-ons that look tempting but can wait
A lot of what fills the scenery aisle is aimed at modellers refining a second, third or permanent layout, not someone finishing their first board. None of the following are wrong to want. They’re just not needed yet.
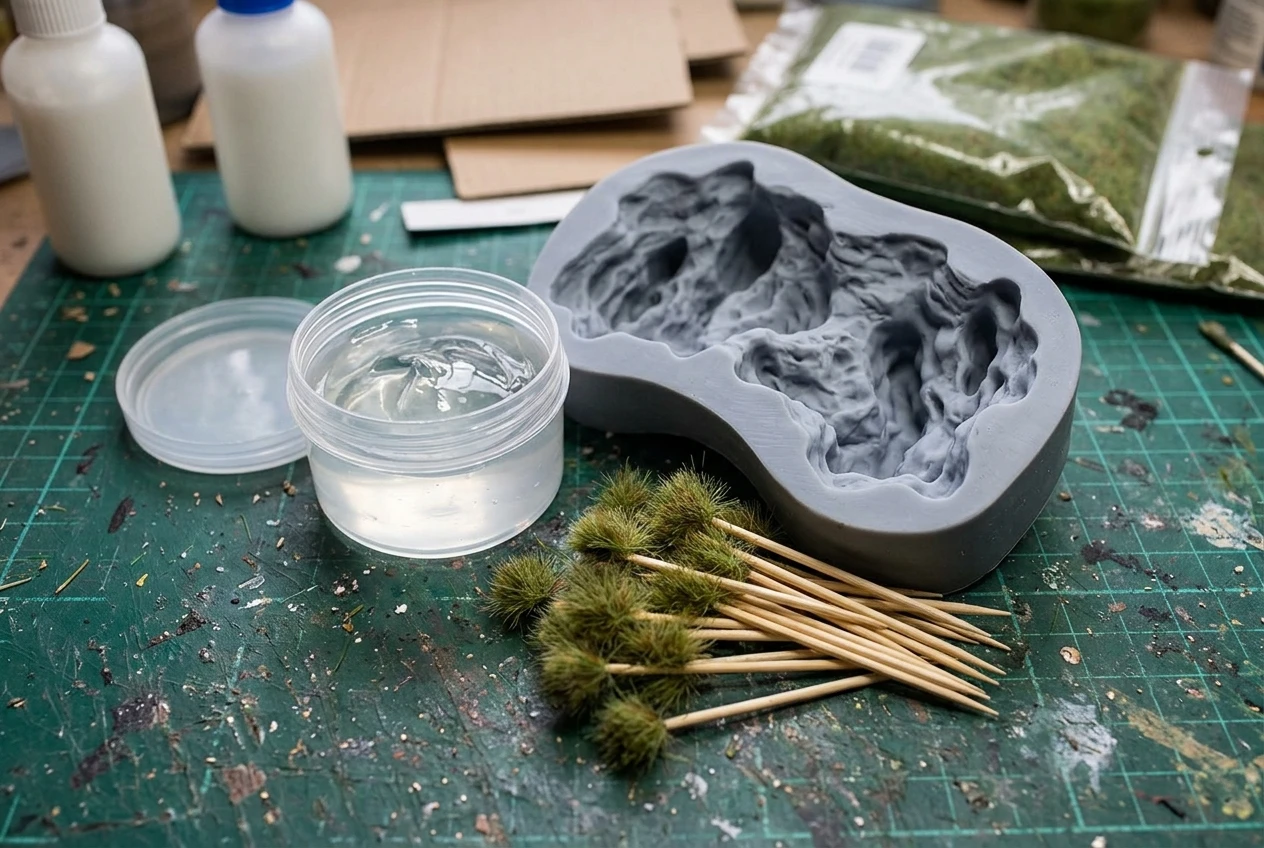
- Individual static grass tufts. Small pre-made clumps of longer grass added for variation look good in photographs of finished layouts, but they’re a refinement applied on top of a base that already has static grass down, not a substitute for it.
- Water effects (resin or gel). Ponds, rivers and puddles need a specific product and a specific technique. There’s no harm waiting until you actually have a water feature planned.
- Specialist rock and stone moulds. Useful for cuttings and embankments on a layout with varied terrain, but a flat or gently rolling first board usually doesn’t need them.
- Multiple ballast colours for different lines. Real railways do vary their ballast by region and age, but on a first layout one consistent colour reads perfectly well and keeps the job simple.
- Static grass applicators beyond the basic version. Professional-grade applicators with adjustable charge settings help on large layouts with a lot of grass to lay. A simple handheld applicator or even careful sprinkling by hand does the job on a small board.
Buying these early usually means buying them before you know whether your layout even needs them, which is the exact overspending this brief is trying to help you avoid.
A simple buying order so you don’t overbuy
Rather than buying all five essentials in one go and guessing at quantities, it helps to buy and apply in a sequence tied to the stages of finishing the board.
- Buy ballast first, and only enough for the track you’ve already laid. Measure your running lines before ordering rather than guessing high.
- Buy one bag of scatter base next, in a quantity matched to your baseboard’s surface area, not a guess at “probably enough.”
- Buy static grass once the scatter base is down and dry, so you can see how much bare ground is actually left to cover.
- Buy foliage clumps last, once you can see the finished ground colour and judge how many bushes or hedge sections the scene actually needs.
- Keep adhesive topped up throughout rather than buying one large tub at the start; a 250ml bottle of diluted PVA goes further than it looks.
This order means every purchase is made with the previous stage visible in front of you, rather than bought speculatively from a photo on a packet.
Matching materials to the scale you’re modelling
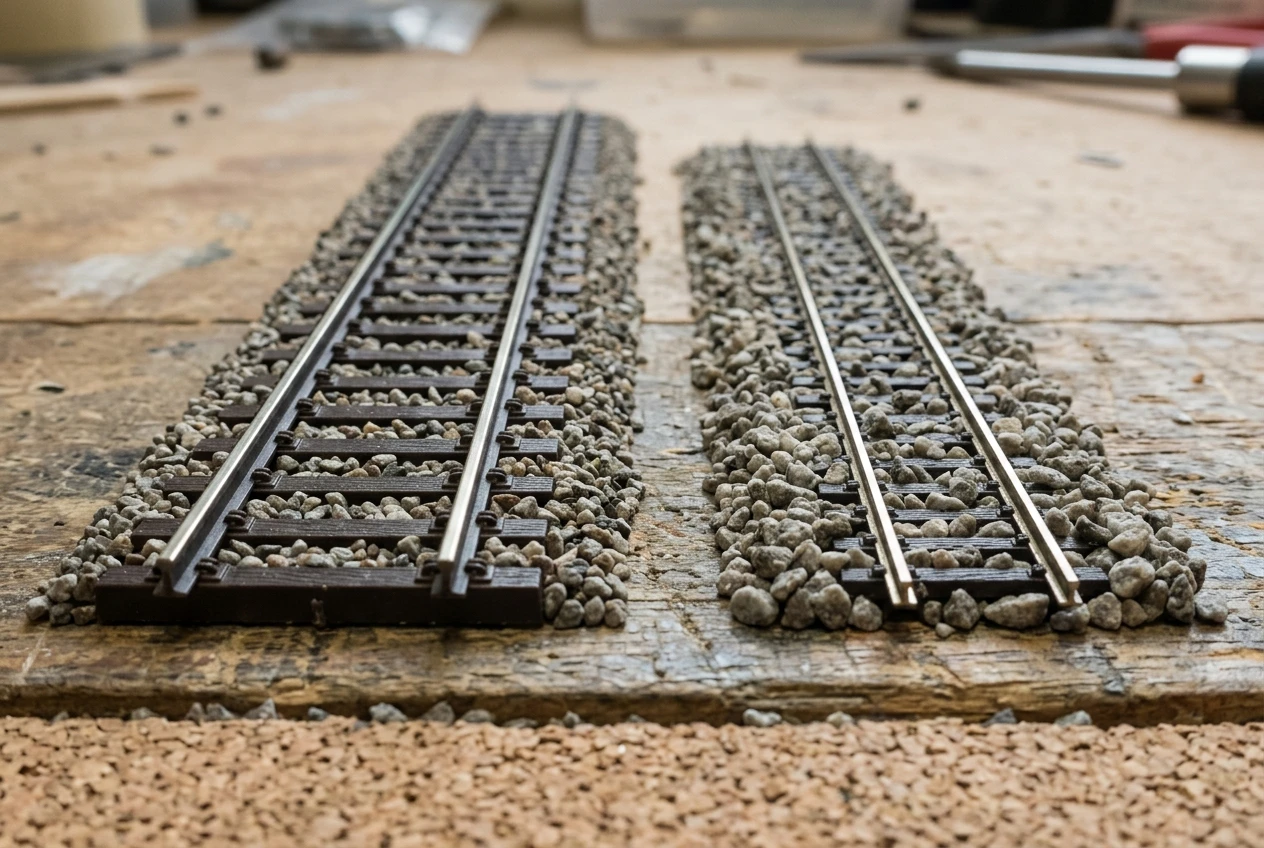
Ballast grain size and static grass length both need to scale correctly to your gauge, or the finished scene will look oddly out of proportion even if every individual material looks fine in the packet. A ballast size that suits OO gauge will look chunky and wrong under N gauge track, and grass that reads as a realistic height in OO will look like a field of wheat in N gauge.
If you’re not certain which scale you’re working in or why it matters for buying decisions like this, Model Train Scale Sizes Explained sets out the differences between the common scales, including how they affect material choices beyond just the locomotives and rolling stock. Checking this before ordering scenery materials saves a return or a drawer full of ballast that’s the wrong size for your track.
Where weathering and detailing fit once the basics are down
Once ballast, scatter, static grass, foliage and adhesive have been applied and allowed to dry properly, there’s a natural next stage that a lot of beginners jump to too early: weathering. Dry-brushing a wash over ballast to vary its colour, or adding a light dusting over foliage to knock back the uniform “straight out of the packet” look, genuinely improves a scene, but only once the base layer is finished and stable.
The same applies to weathering the rolling stock and track itself, which is a separate skill from scenery but often tackled around the same time, once a layout starts looking like a finished scene rather than a bare board. How To Weather Model Trains covers that process in more detail, for when the scenery stage is behind you and you’re looking at what comes next.
Getting the five essentials down well, in the right order, on the right baseboard, is a complete and satisfying first project on its own. Everything else on the scenery shelf will still be there when you start your second layout.
Check the current range of Hornby scenery and scatter materials through the affiliate link to see starter packs suited to first layouts.